How to create Instagram filters with Spark AR Studio | Instagram Face Filters & Effects
Filters are one of the main attractions of Instagram and Facebook cameras, many of them being masks on your face in real time. You can use Spark AR Studio application to make your own filters, available for both PC and Mac. It is not extremely easy to use.
What do you need to use Spark AR Studio
To create filters for the instagram camera you need the official application, Spark AR Studio, available for Windows and for Mac. The installation of Spark AR Studio is as simple as hitting the next button until it is complete.
Optionally, Spark AR Player is available on Google Play and the App Store. It is a player to preview the effects with the mobile, although it is not entirely necessary because you can achieve the same with the official Instagram or Facebook app.
How can you use this app?
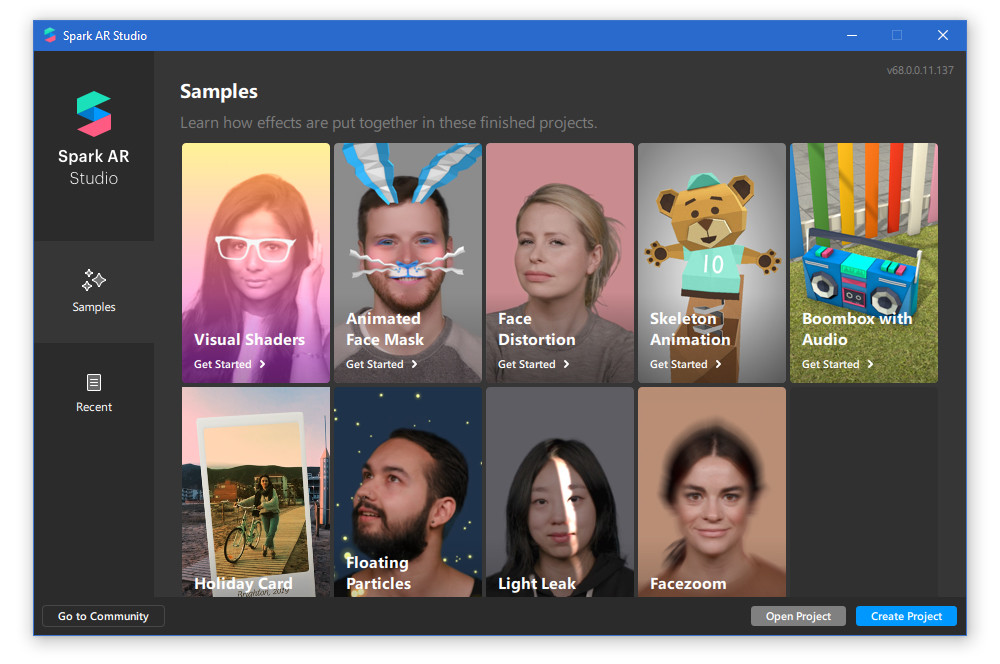
On the official website of Spark AR Studio you will find the documentation, tutorials and guides, but if you are one of those who prefer to start pressing buttons to see what happens instead of reading the instructions, you can at least start from one of the eight examples included in the app, which cover the main types of effects available in these types of applications.
For example, if you want to create an effect that puts your nose like Pinocchio, a good starting point would be the Face Distortion example, while if you are thinking more about a color filter than Instagram filter, Visual Shaders It is what you are looking for.
The application comes with sample videos of people performing different head movements to easily test the effects. In total there are seven actors, although you can import videos from your PC if none of them convinces you or you are looking for something more specific.
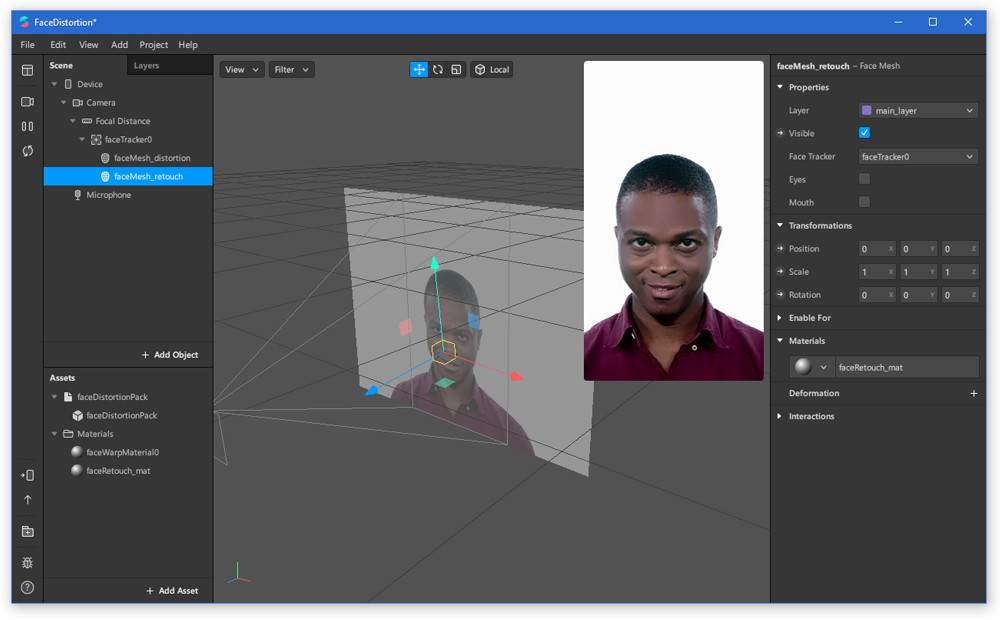
We need to edit the properties of the face modifier that is applied to facial tracking. At first it sounds complicated, although as you use the application you will see that it makes more sense than it seems at first.
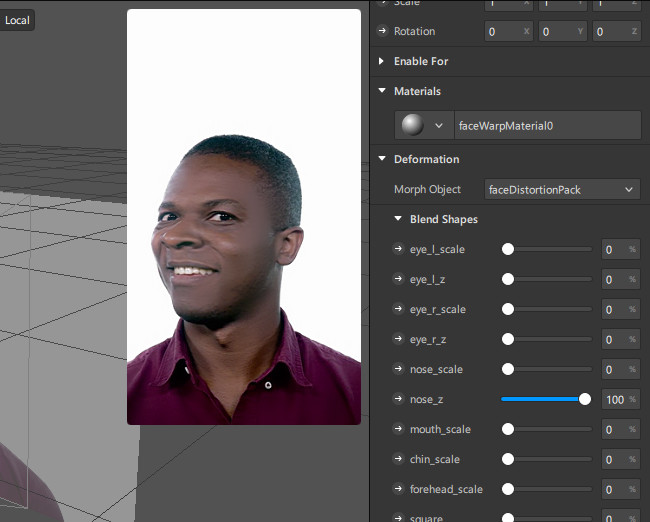
The properties are located on the right of the screen and have descriptive names such as left eye scale, chin scale or Z axis of the nose. The latter (nose_z) is what we want to modify, so if we take it to the maximum, we have a kind of Pinocchio.
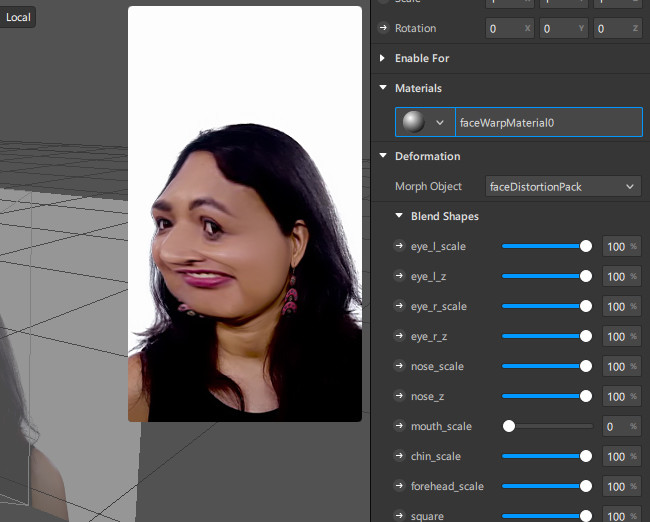
The effect of this facial distortion is relatively moderate, so at first it might be difficult to realize if something has changed or not. If in doubt, move other sliders and you will soon see how the effect becomes evident.
This is obviously just the tip of the iceberg of what you can do with Spark AR Studio, although we let you explore the details and the rest of the examples until you achieve an effect that deserves to be shared with the world.
Test the effect on your mobile
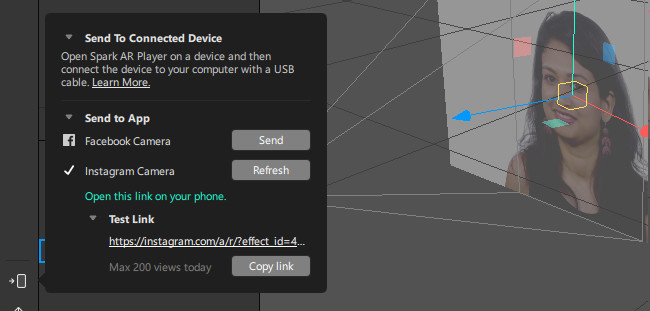
If you are satisfied with the result, use the Send to Device button on the left of the interface. You can use it to connect to your mobile using the Spark AR Player application, although it is not strictly necessary. You can also choose Send to App and choose which one you want to try it on: Facebook Camera or Instagram Camera.
This uploads the filter to the Internet to test it and then generates a link that you must send to your mobile. Open that link with Instagram and voila, you can try it on your own mobile. Note: this link is not to share with your friends, as it is limited to 200 views per day.
The link opens on Instagram - or Facebook, if you chose it - and loads the filter you just created so you can try it live and live. In my tests my filter has turned out to be a real abomination, so back to Spark AR I have had to make several adjustments.
As soon as you have it ready, click on Export (the up arrow icon) to save your creation as an AREXPORT file. You can upload these files to Spark AR HUB so that they are accessible to everyone. You must fill in some details such as the name of the filter, in addition to attaching images and icons.
Advantages of promoting your filter for your Instagram account
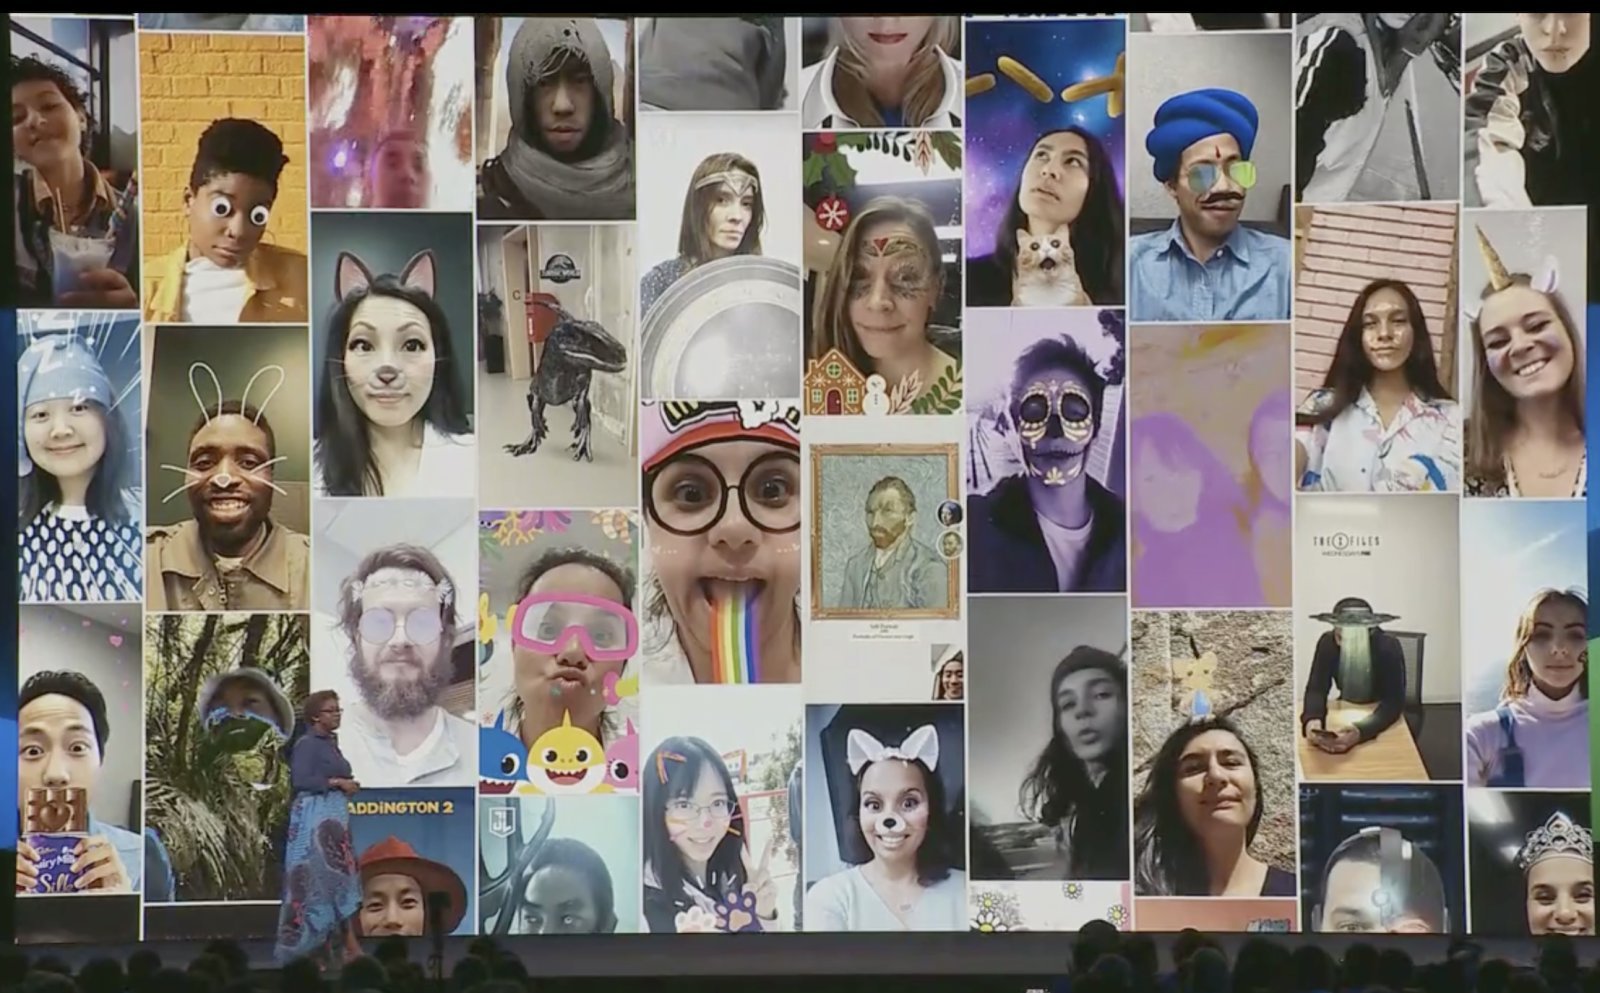
Today, many people have the possibility to create their own filters, since they have become extremely famous not only on Instagram, but on all social networks. Distort the face, add shine, put accessories, are some of the things that people often use when they add filters in their photos.
There are other types of people who want to go further and start creating things by their own and for their community as filters, for example, in order to not only make them famous, but they can also generate some money. Mostly these types of people are influencers who, due to their large group of followers, can have a community that seeks to share the work they have done.
This is done nothing in order to become famous, it is more for giving something different to thwir communities that will generate an increasing in the number of people that follow them and to make and engagement with them.
Benefits of promoting your filter
As we mentioned earlier, when you create your filters you have a number of advantages, one of the most important is that you can generate your own income through these filters since other people can buy them to use them too.
Also, with this filters, you make your community grow much more, because people are always looking for new things. Also, you can promote your channel or your personal accounts as a change with these filters.
The benefits of creating your own filters are big, but the most important thing is that you need to study the material you are making in order not to be plagiarized. You must ensure that everything you are doing is completely original, or if you are not going to lose credibility with your followers.